Introduction
The connection profile decides how the logger tries to communicate with the outside world.
The SA380-TX logger is capable of sending the acquired data events to a specified server.
When you need:
- The logger to send data to a server,
- Listen for dialup connections,
- Use GPRS communication
Then you need to set an appropriate connection profile in the data logger.
There can be maximum of 10 connection profiles defined in the logger.
The connection profile describes:
- Primary connection for the server communication: Ethernet or GPRS.
- For GPRS: APN name and PPP credentials: username and password.
- Server name where the logger will send the data events.
GUI setup
Navigating to Connection profile configuration
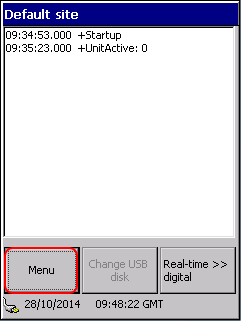
The logger’s master dialog displays the digital events (state changes) since startup.
The buttons let the user to:
- Enter the menu: you can read historic data, system log or set configuration.
- Remove a USB stick in a controlled way. Failing to indicate the removal first, the logger reports error and restarts.
- Display real-time states of the inputs.
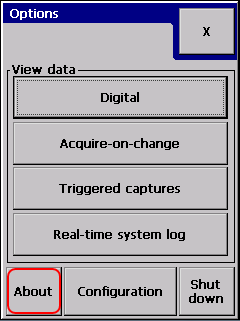
Let’s enter the Menu:
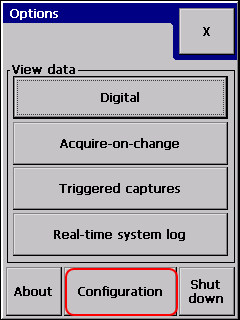
Options menu lets the user to display historic data stored in the logger.
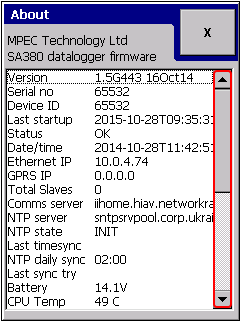
The About box shows useful information about the logger like: firmware version, GSM modem state, last read GSM signal strength, Ethernet IP address, etc.
The Configuration button brings to logger configuration:
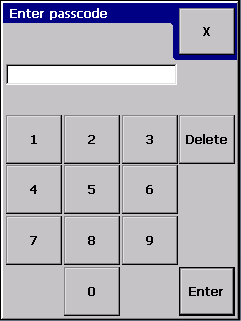
Before letting the user to display or change the configuration, the user has to be authenticated.
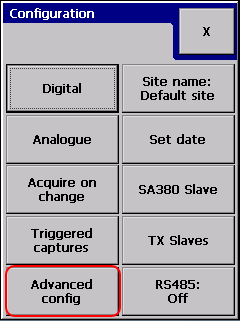
The first configuration page lets the user to change mostly data related settings: channel names, analogue sensors, analogue measurement methods.
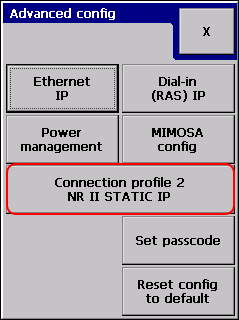
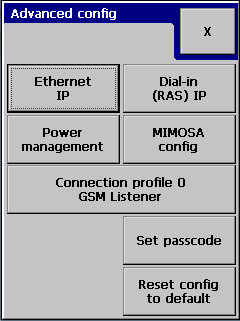
The Connection profile is not related to the input, so it is placed in the Advanced configuration section:
Shows the active connection profile name. To change or review the connection configuration you have to press the button:
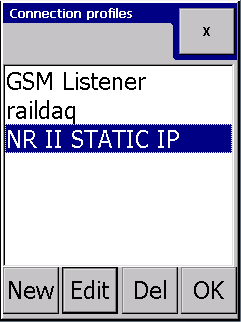
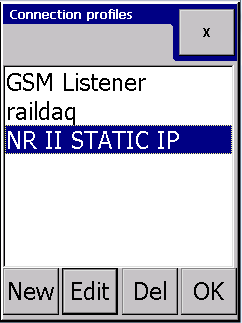
The active profile is highlighted. There is always an active profile present in the logger.
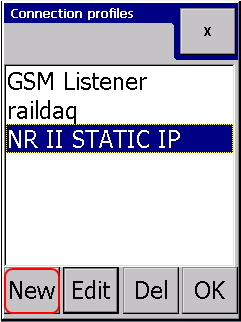
Creating a new connection profile
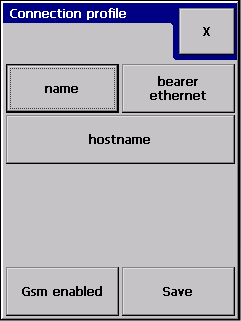
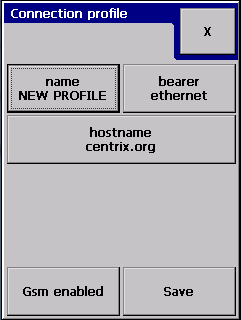
Selecting new shows a blank connection profile:
The two most important settings are:
- Name of the profile
- (Server) host name where the data events will be sent
Ethernet primary connection
The only thing left to decide whether we let the GSM modem to operate. When the modem is:
- Enabled: if the unit has an active SIM card with a data number, it can be called with dialup connection. Remote caller can retrieve data from the logger and can change configuration.
- Disabled: The modem is completely powered off. This is option for environment where the GSM signal would generate unacceptable noise to other systems.
Press Save when finished.
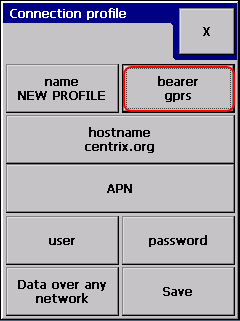
GPRS primary connection
Selecting GPRS will assume three more settings:
- APN: Access Point Name is the gateway between the GPRS network and another computer network.
- Username: needed for the point-to-point connection to the APN (it may be blank)
- Password: needed for the point-to-point connection to the APN (it may be blank)
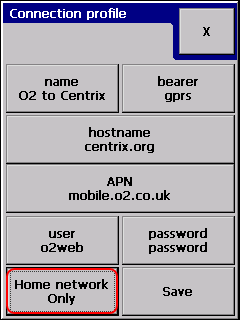
Toggling “Data over any network” button switches between enable and disable data roaming.
When “Home network only” is selected the logger will disconnect from the network and will try re-connect to the network the SIM card belongs to.
Press Save when finished.
Selecting active connection profile
In the connection profile selector dialog: simply highlight the new profile and press "OK" button.
This will bring back to Advanced config dialog. The new active profile name will show on the Connection profile button.
Troubleshooting
Navigate to the About box:
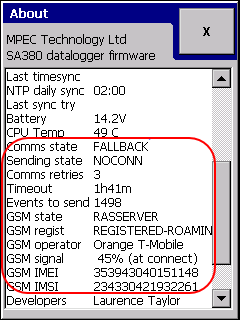
Scroll down to the bottom:
Comms state: data event sender routine state. In case of any error it usually shows FALLBACK. In FALLBACK state the logger waits for the Timeout displayed below and retries the last operation.
Error free communication usually shows NOTIFYSAMPLES or LOOPWAIT states.
Sending state: sub-state of the Comms state to indicate lower level errors. Normally shows IDLE or OK. May be useful for for more thorough investigation.
Comms retries: number of times the logger attempted to send the current message to the server.
Timeout: time the logger waits before retrying to send the same message to the server.
Events to send:
GSM state:
GSM regstration:
GSM operator:
GSM signal displays a percentage value proportional to -109 .. -51 dBm range. -109dBm = 0%. -51dBm = 100%.
GSM IMEI
GSM IMSI
Related articles
