Health Dashboards: Create and Edit
Overview
Health dashboards provide a facility to show the status of alarms across multiple locations, with user customisable aggregation and grouping.
If every alarm is quiet, then each group containing that alarm will be green. When an alarm is triggered, it will change colour and every group containing that alarm will change colour.
Alarms can be aggregated together into a single group. Multiple groups can then be aggregated together into another group and so on and so on. Any number of 'children groups' are allowed.
The lowest level group, where alarms are aggregated together, is called an indication.
A dashboard contains multiple groups and indications. Some groups can contain more children groups than others.
Dashboards have a tree-like structure: The dashboard is the top level node. Groups branch off of this and further groups can branch off of these, until the lowest level indications are reached.
A user can view any group or indication. Each view maximises the space available and has a full screen option to replace the Centrix header with the dashboard title.
When viewing all the alarms in an indication, you can see their current state and click on any alarm to go directly to that alarm's page.
NOTE: Please read the 'Health Dashboards: View' user guide' if you require deeper understanding in how Health Dashboards are designed to be used.
Creating a Dashboard
The main health dashboard page is available from the Centrix main menu; Alarms > Health Dashboards.
Here you will see a Create Dashboard button.
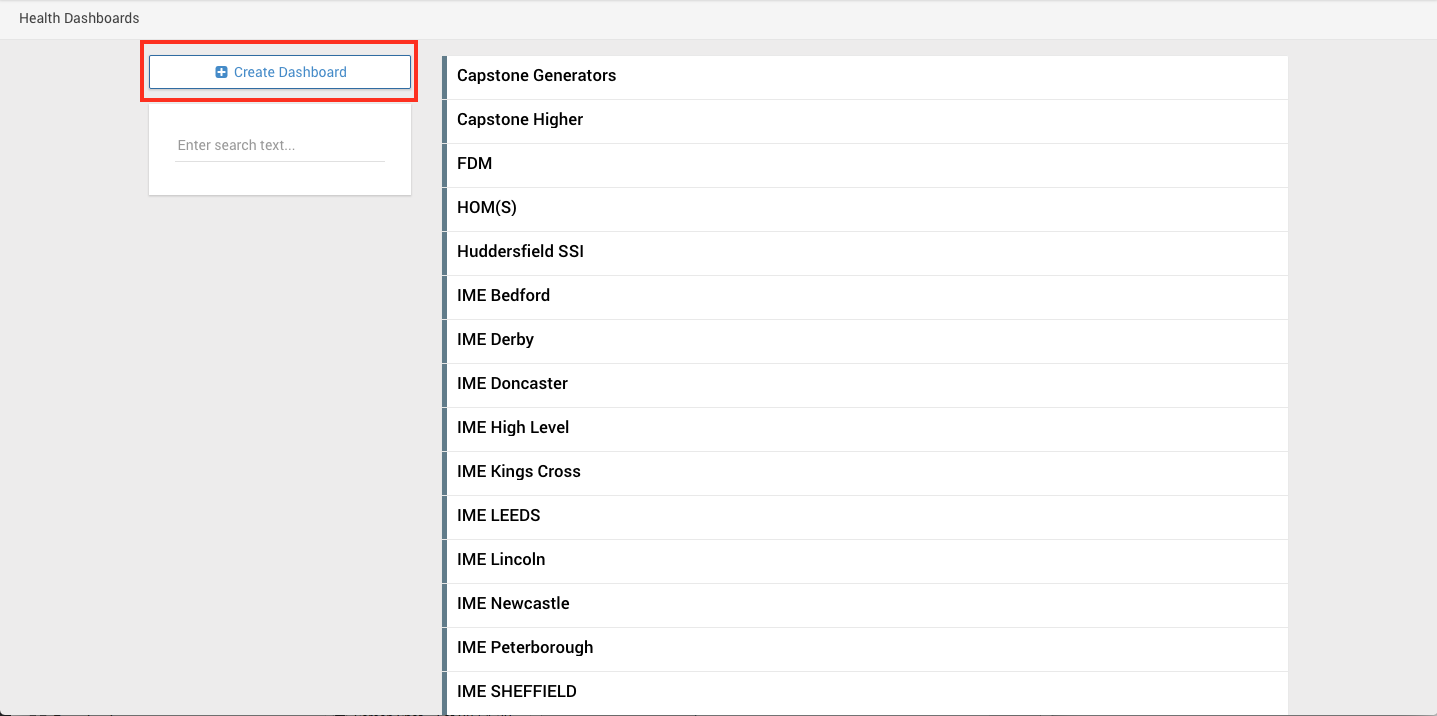
Clicking this, takes you to the create dashboard page.
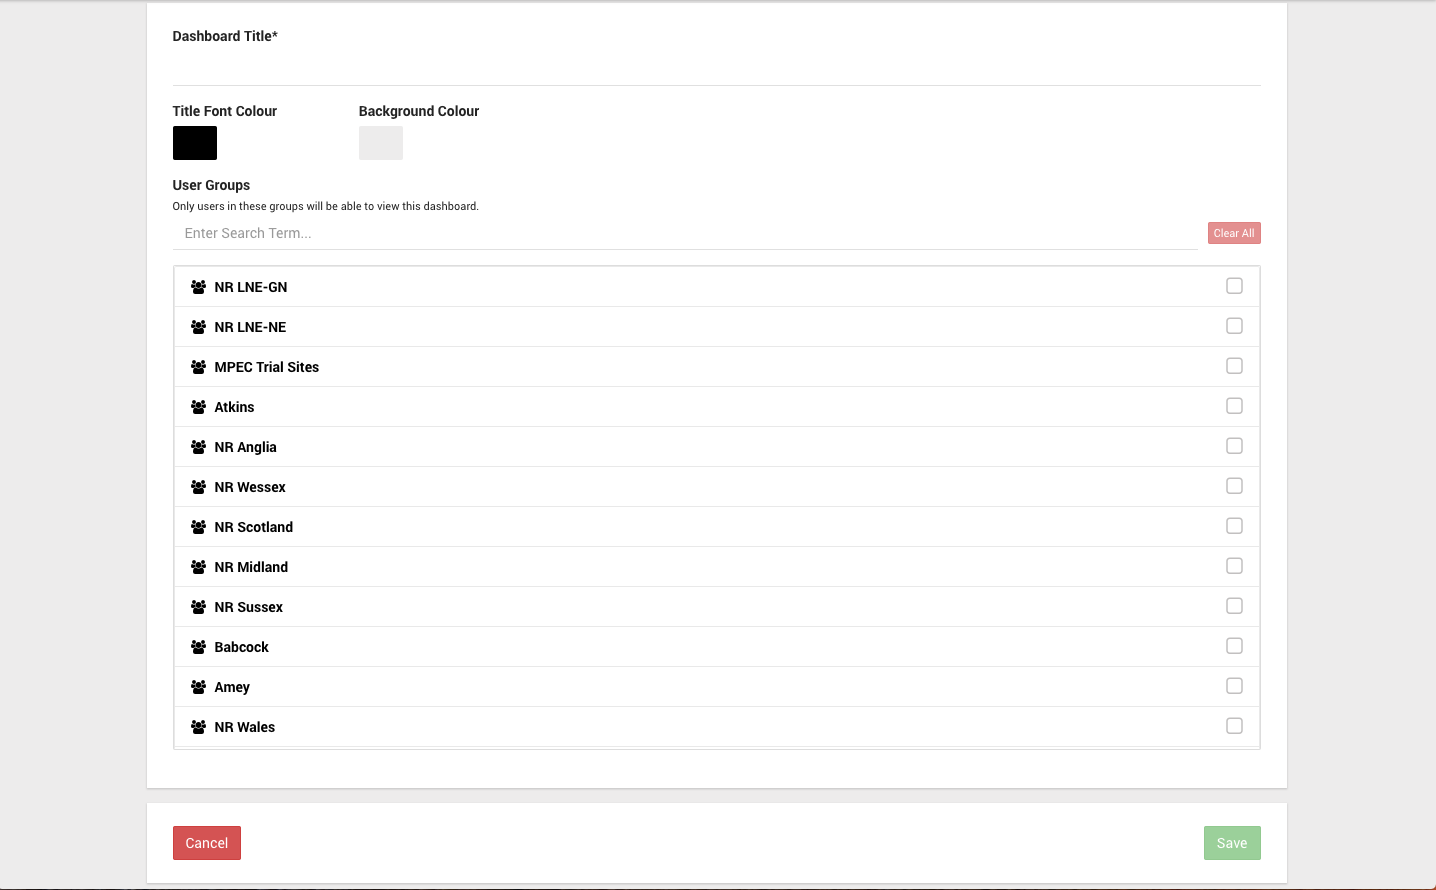
Give the Dashboard a title.
Select a Title and Background colour to be used when using the full screen functionality.
Select User Groups who will be allowed to view this dashboard.
Save the dashboard.
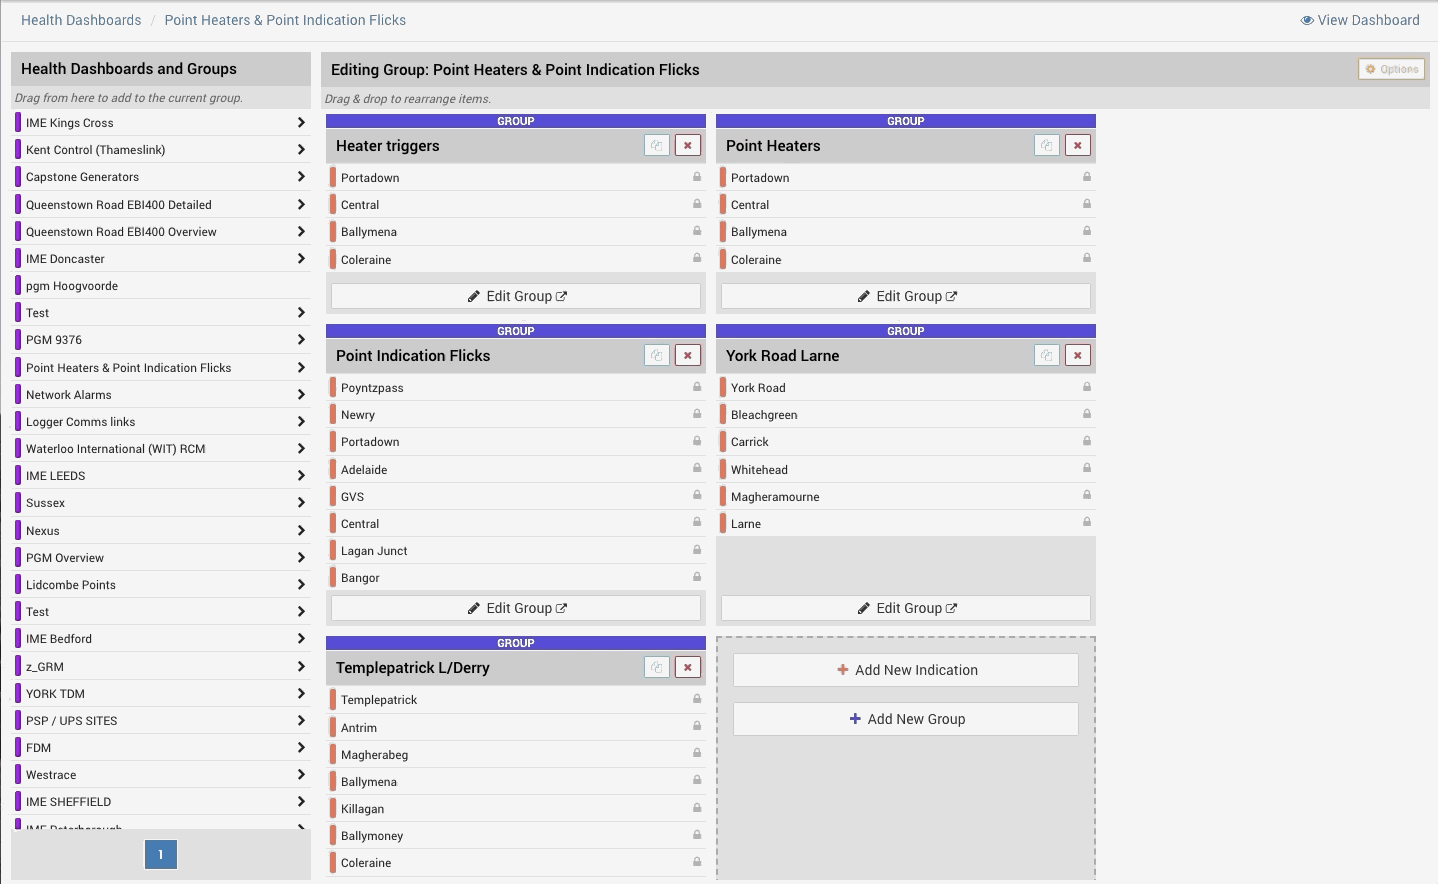
Editing the content of a Dashboard
The edit page for a dashboard can be navigated to from the main dashboard list view or the main dashboard view.
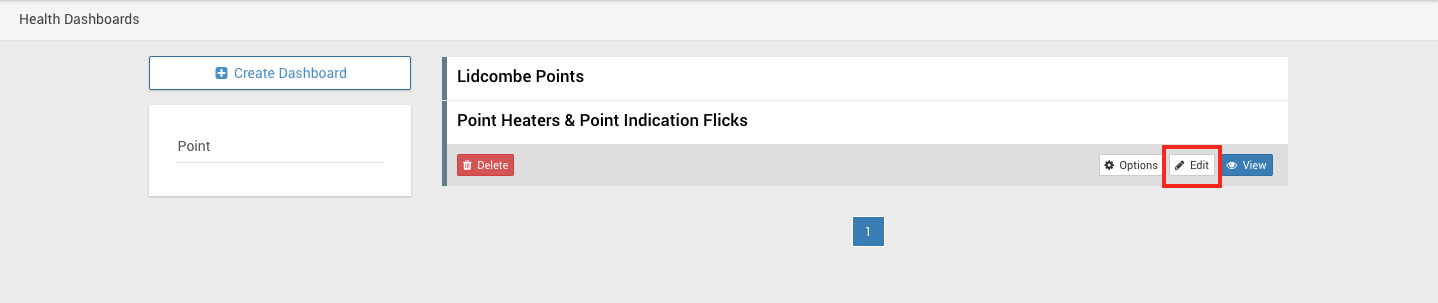

By drilling down into a specific group or indication view, the edit button will take you to a page to edit that group or indication, not the whole dashboard.
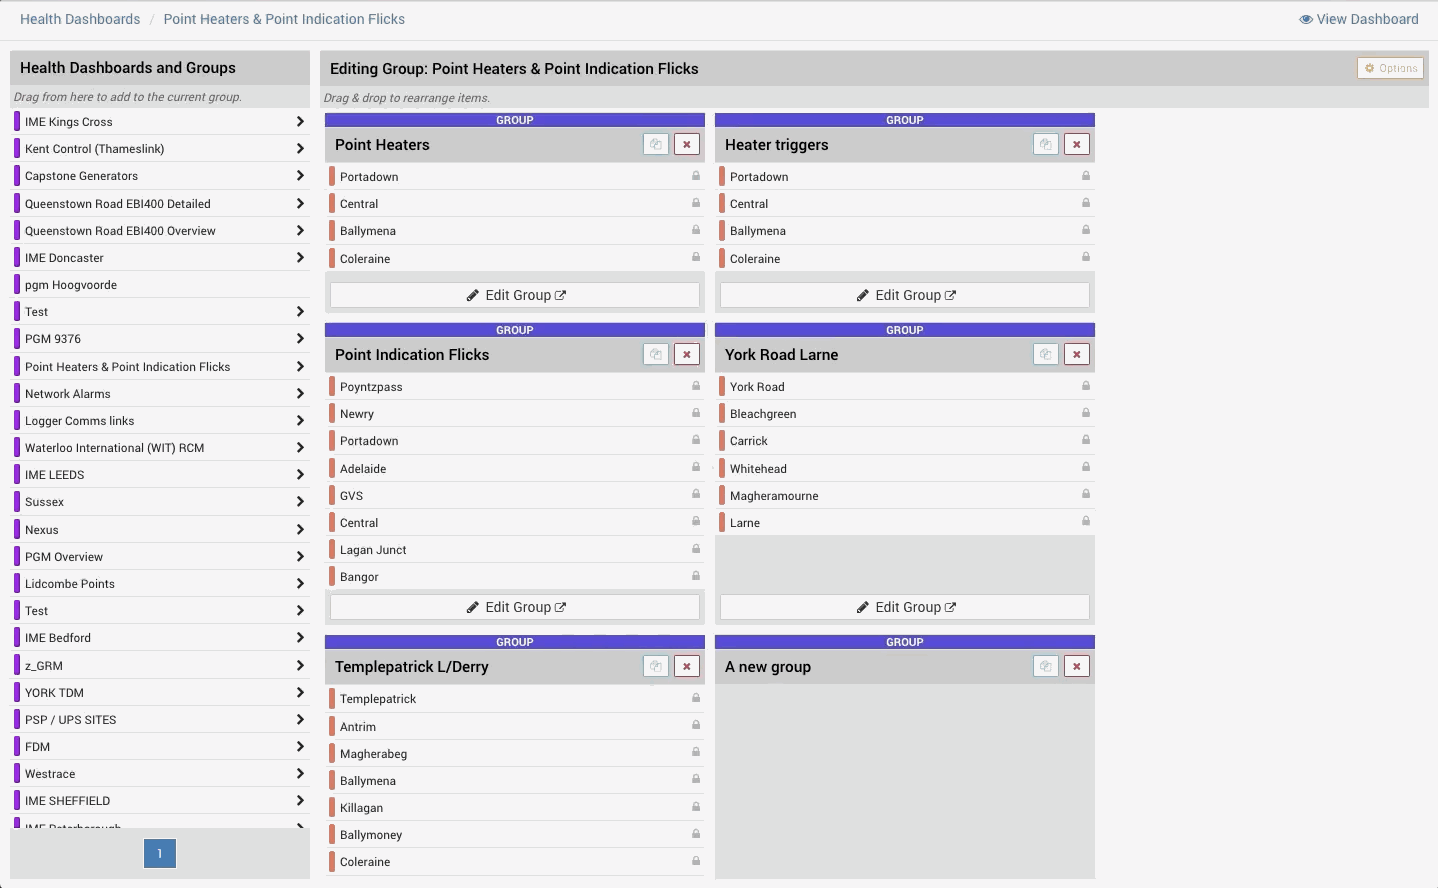
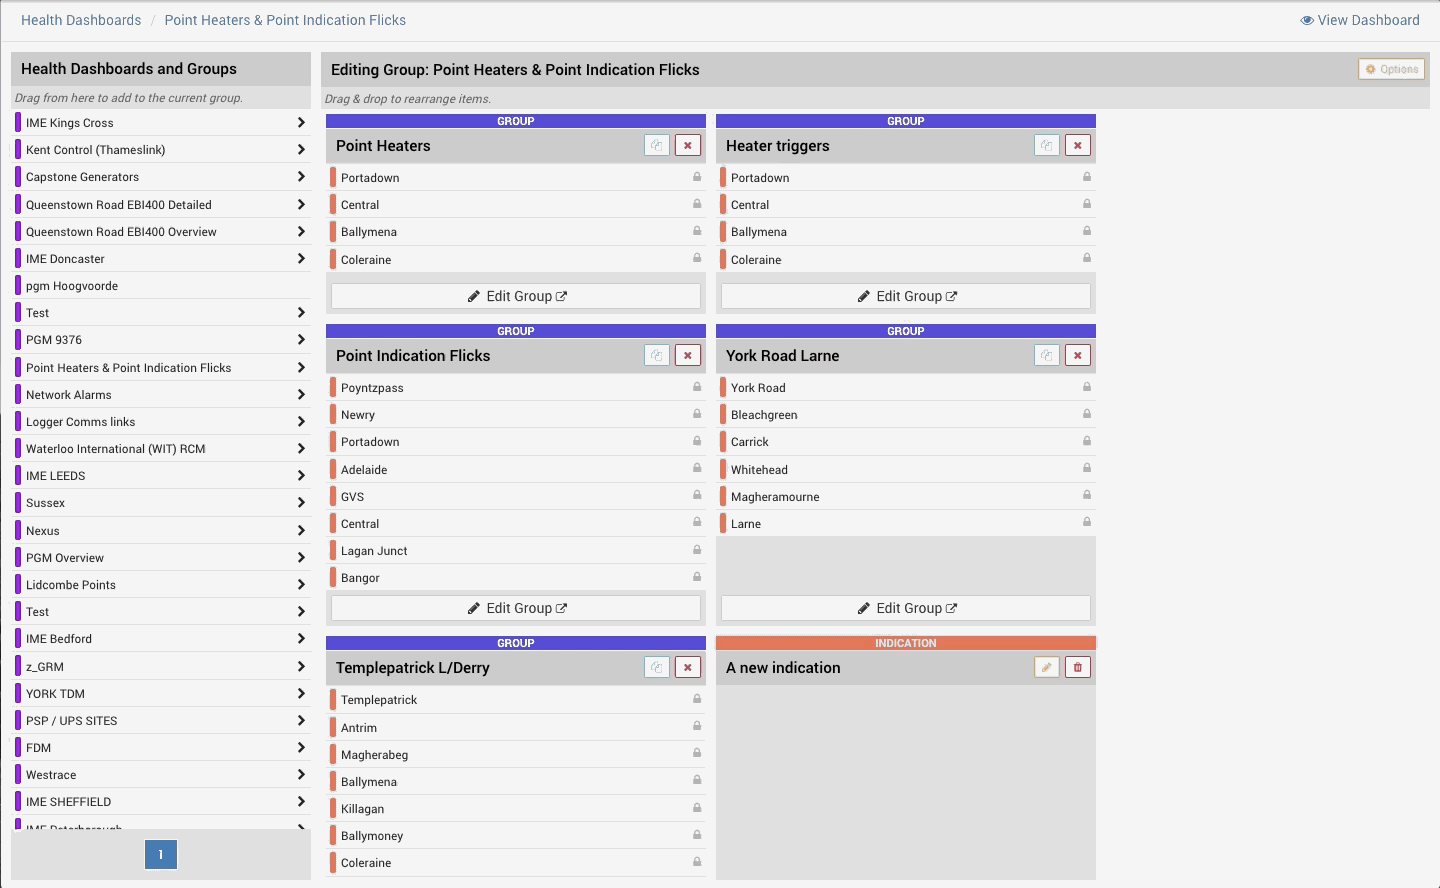
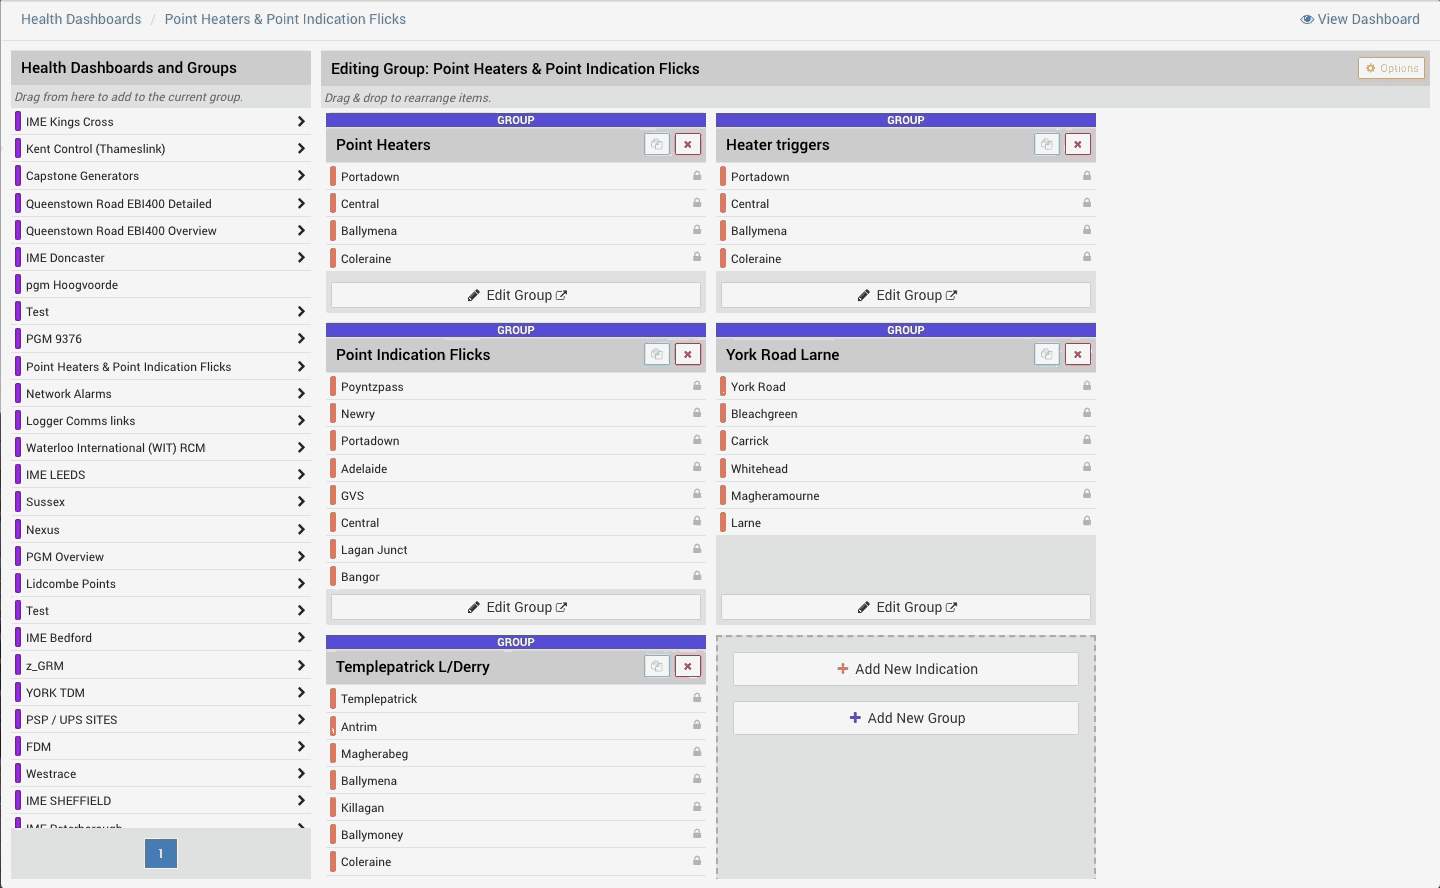
Below is the edit content page for the dashboard which has been being used for this example.
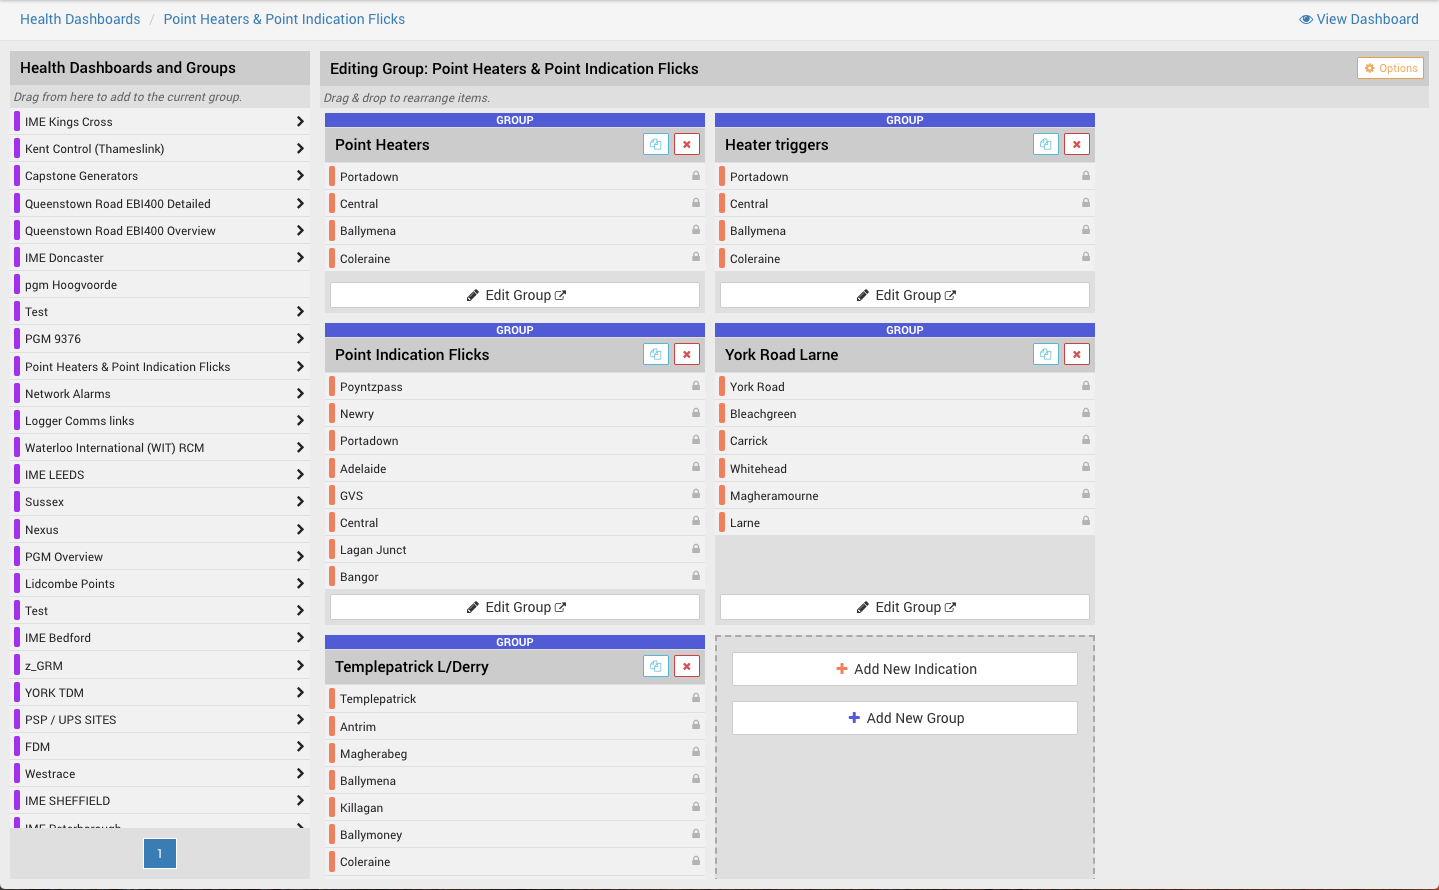
From this page, the following can be done:
- Rearranging the current layout. See here.
- Adding a new Indication. See here.
- Adding a new Group. See here.
- Moving an alarm from one indication to another. See here.
- Removing an Indication. See here.
- Removing a Group. See here.
- Editing a Group. See here.
- Editing an Indication. See here.
- Adding an existing group to the dashboard. See here.
- Duplicate a Group. See here.
- Edit the dashboard. See here.
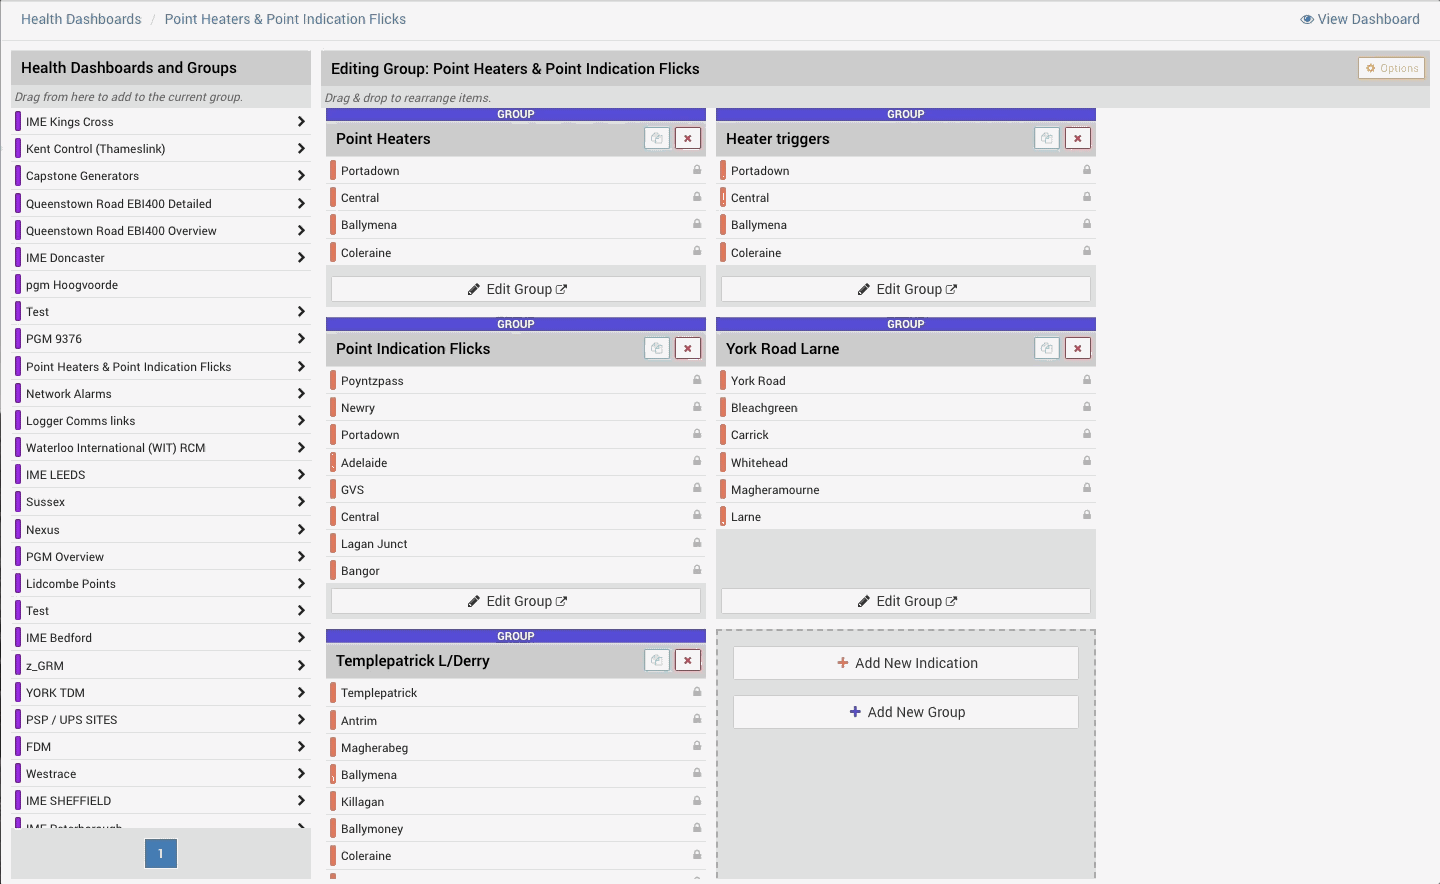
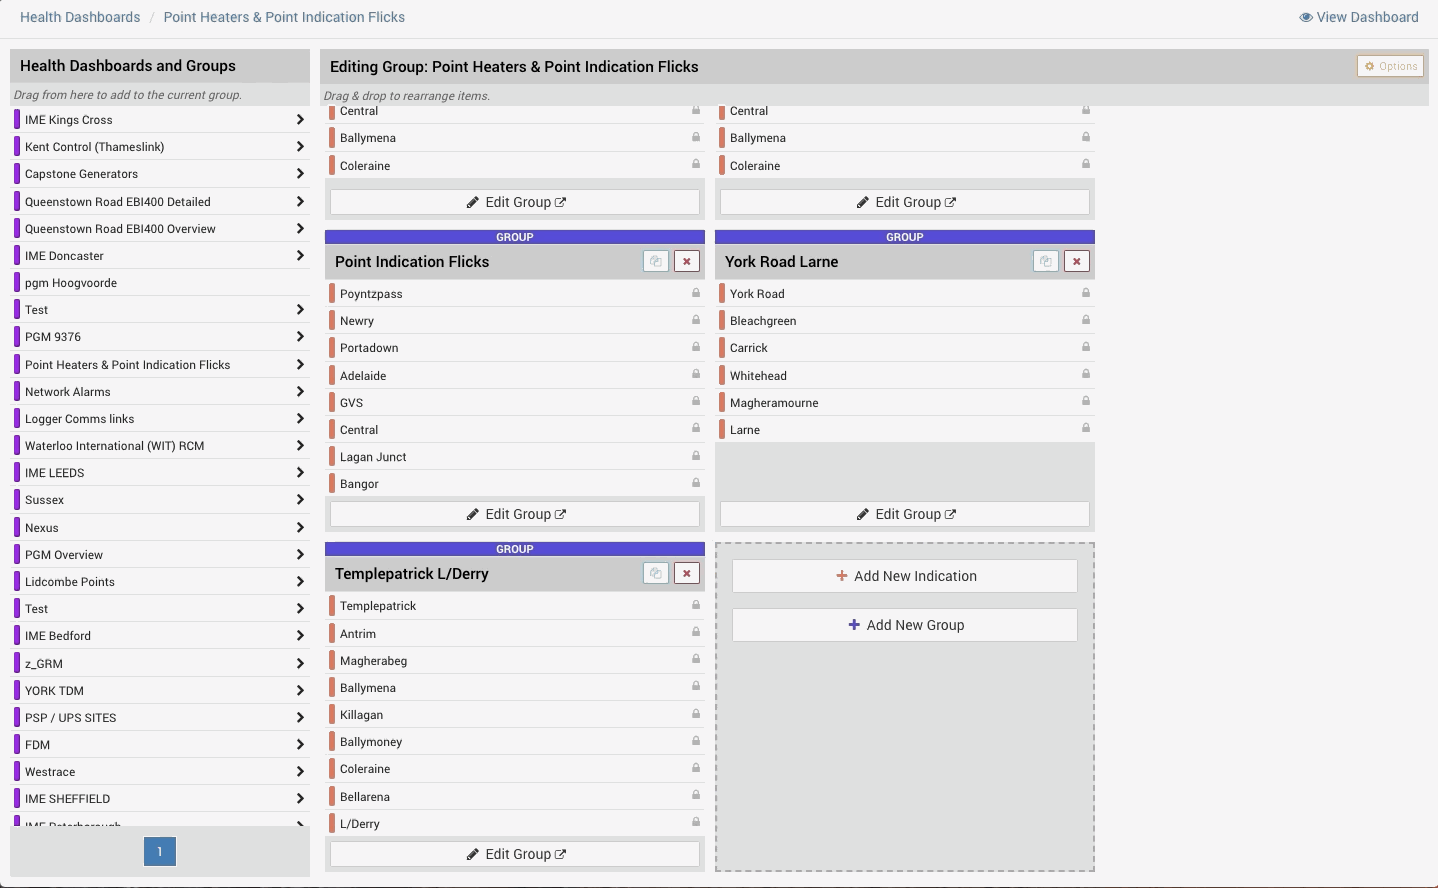
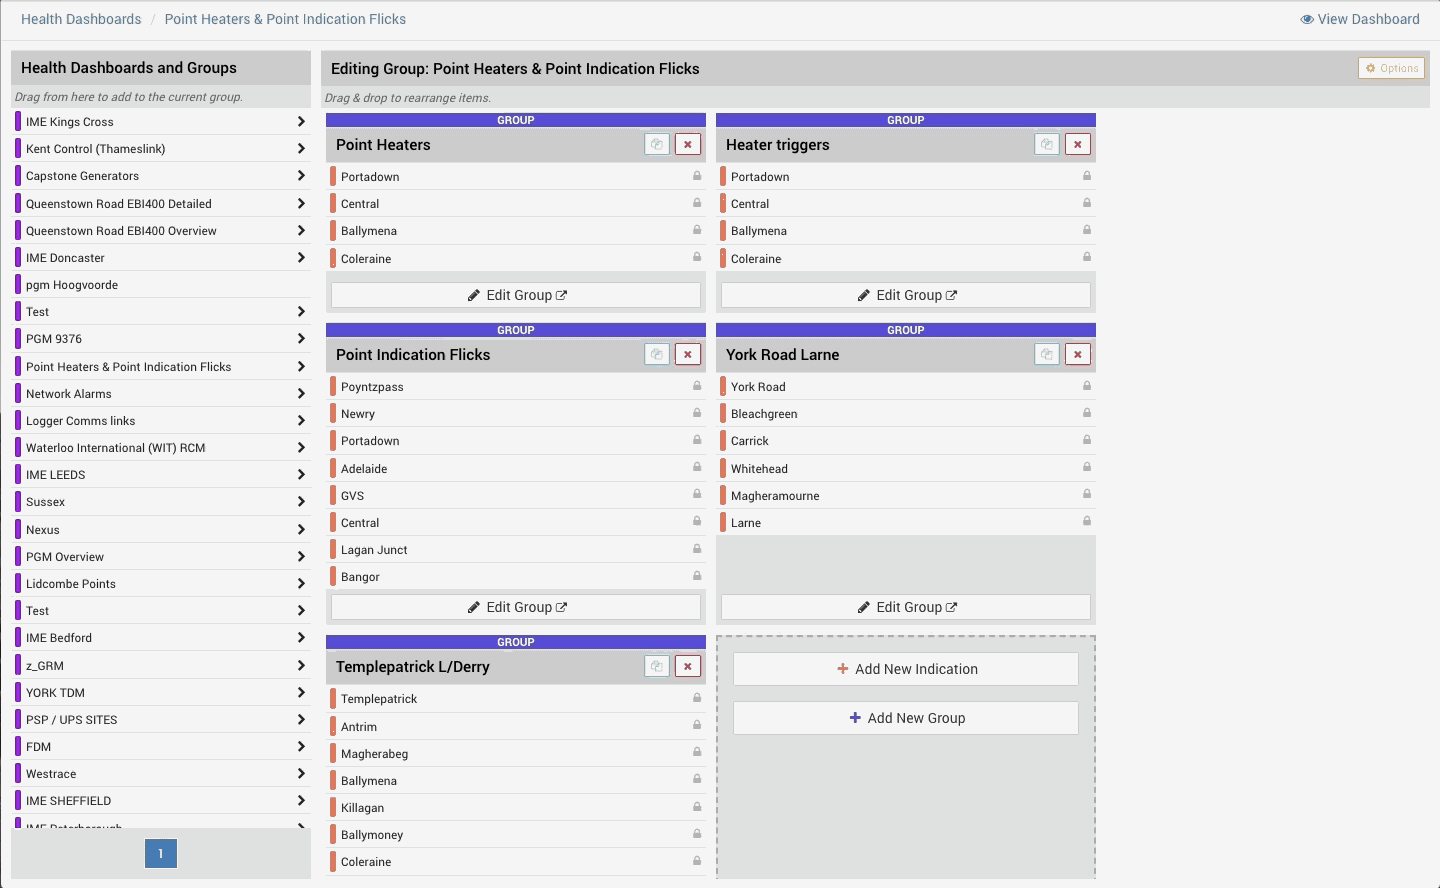
Rearranging the Layout
Simply drag and drop a group or indication to rearrange the order of the elements.
Adding a new Indication
At the bottom of the screen, below all the existing groups and indications in the current group, there are options to add a new indication or a new group.
Click on the button to add a new indication, give it a name, and press the save button.
To add alarms to an Indication. See here.
Adding a new Group
At the bottom of the screen, below all the existing groups and indications in the current group, there are options to add a new indication or a new group.
Click on the button to add a new group, give it a name, and press the save button.
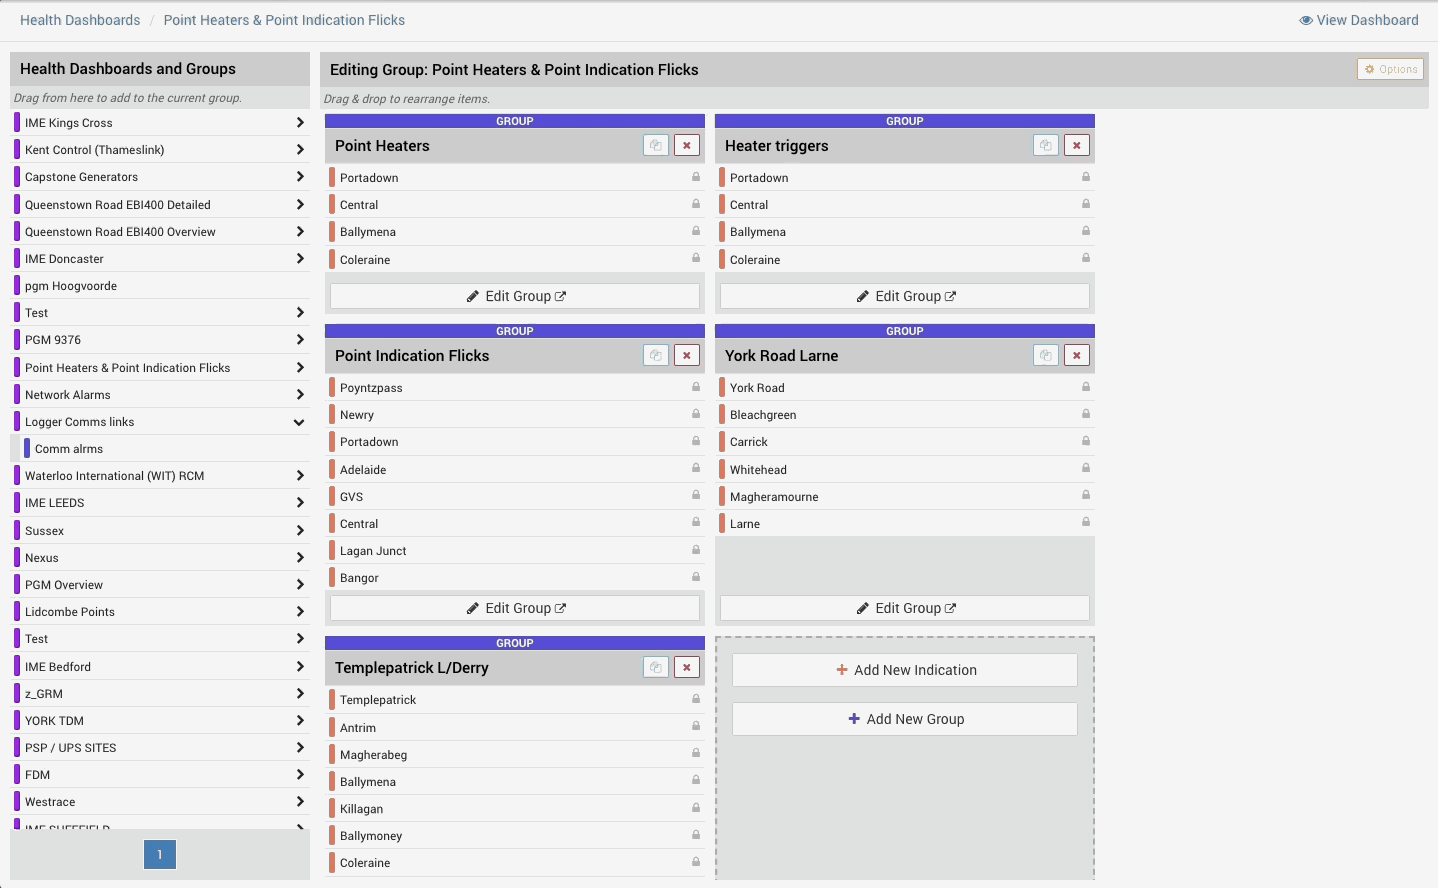
Moving an Alarm
Edit a group to view all the indications it contains.
Simply drag and drop alarms to move them from one indication to another.
Removing an Indication
Click the bin icon in the top right corner of the indication you want to delete.
This will fully remove the indication. This action cannot be reversed.
Removing a Group
Click the bin icon in the top right corner of the group you want to delete.
Groups can be shared by multiple groups and/or dashboards.
If this group exists elsewhere, it will still exist there afterwards and can easily be re-added to the group it was removed from if needed.
If this is the only location that the group exists and the group is deleted, it will fully remove the group. This action can then not be reversed.
Editing a Group
Click the 'Edit Group' button at the bottom of the group you want to edit.
Groups are simply collections of indications and other groups.
Add some new indications, new groups or existing groups to the group.
Use the breadcrumbs in the navigation bar to go back to the page you started on.
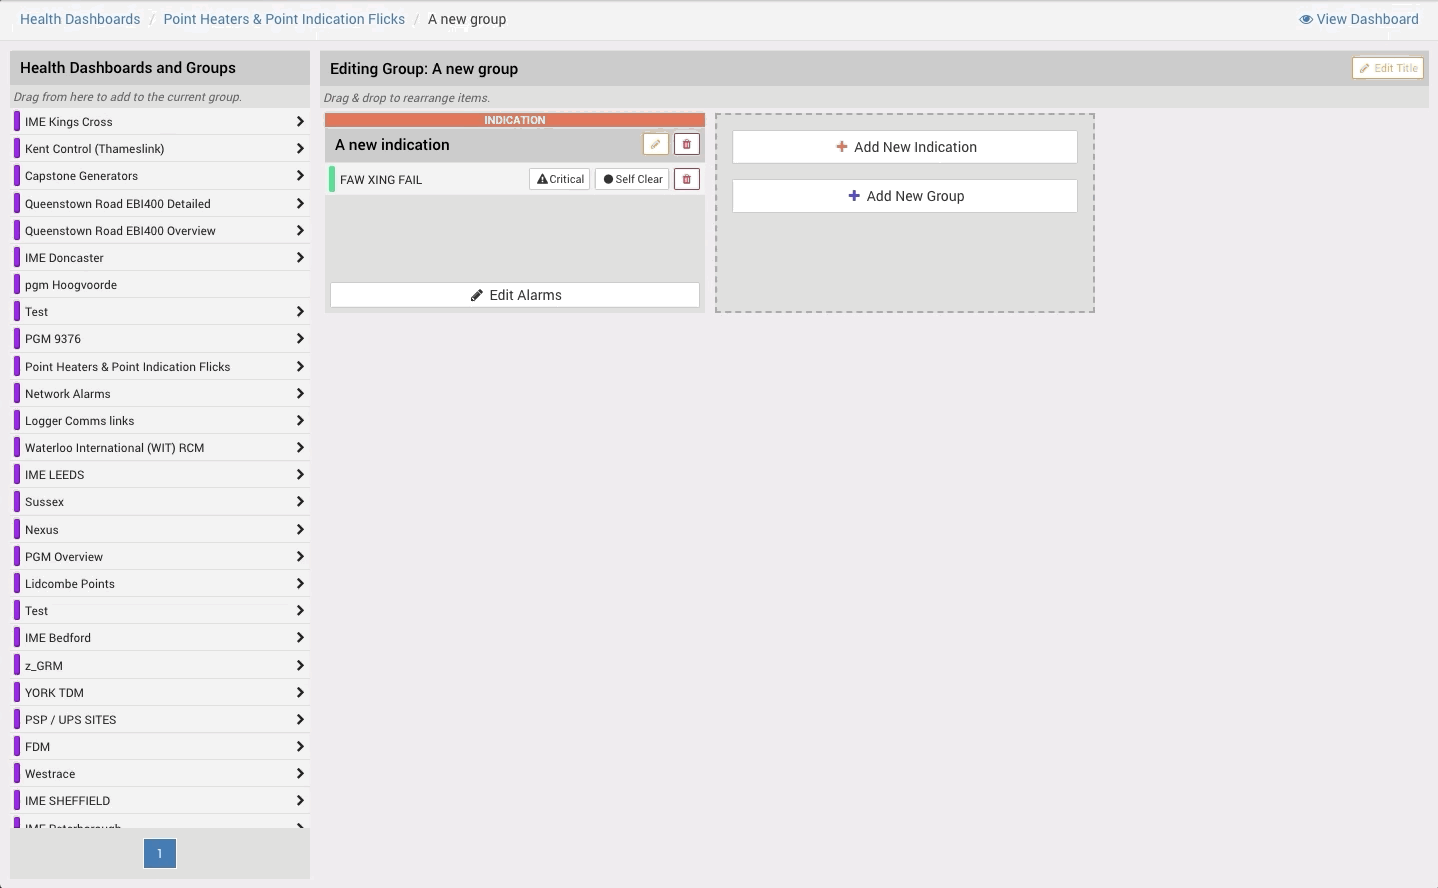
Editing an Indication
Click the 'Edit Alarms'' button on the bottom of the indication you want to edit.
Use the next page to add multiple alarms to the indication.
The box at the top can be used to filter the list of alarms being selected from.
The Self Clear and Critical buttons will be applied to all alarms selected.
Click the Add button when you are done. This will take you back to the page you started on.
You can toggle the self clear and critical flags for each alarm individually from this view.
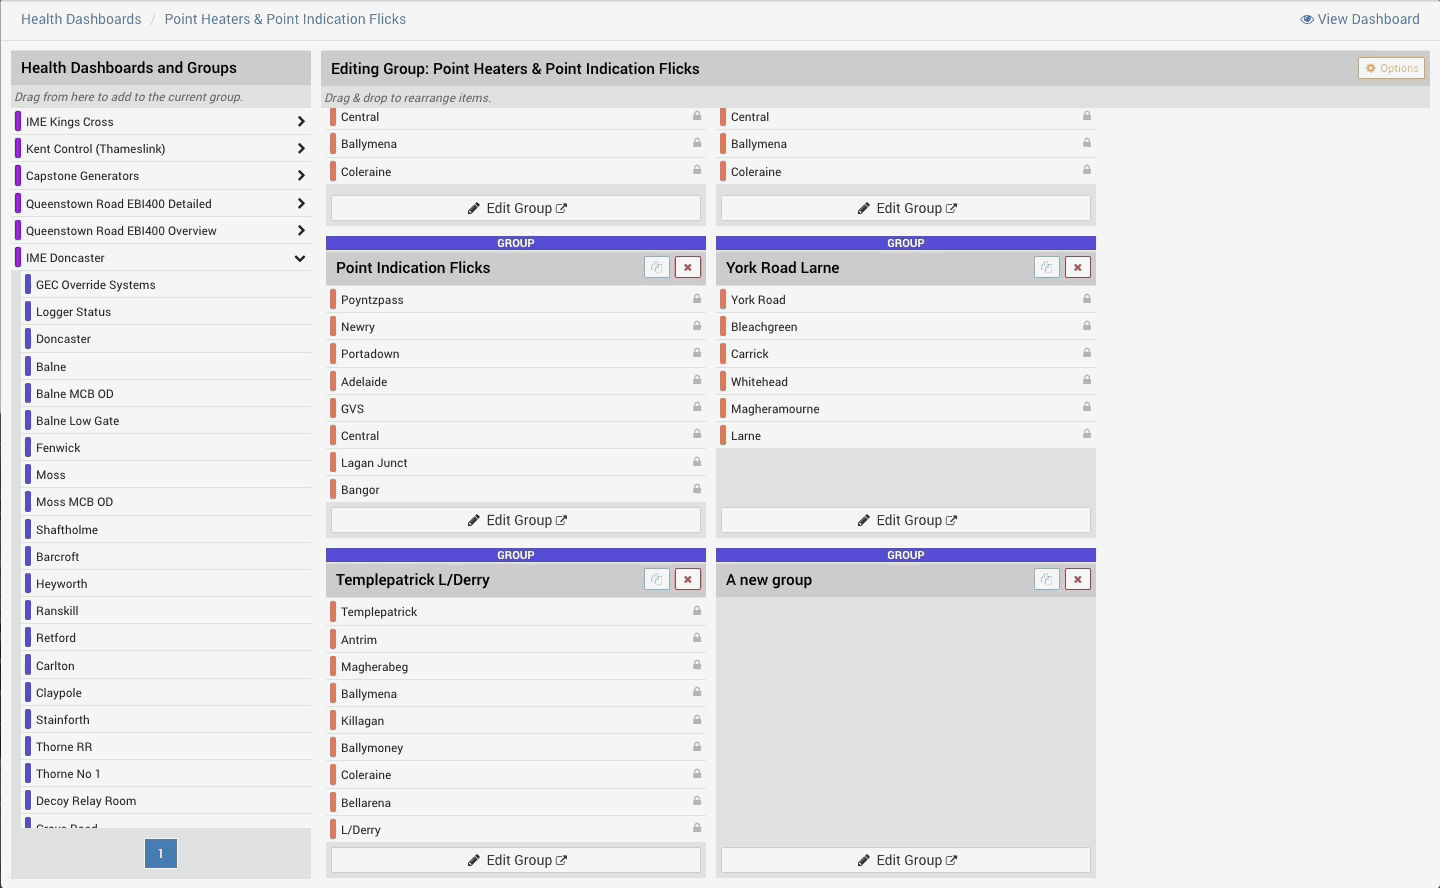
Copying a group to another Dashboard
The sidebar on the left shows all other dashboards that you have access to.
You can drill down into the groups contained in any of those dashboards and then drag and drop any group into the current group.
Groups can exist in multiple other groups or dashboards.
However, a parent-child loop is not allowed. For example, Group A cannot contain Group B which contains Group A.
When a group is edited, this update will be seen everywhere it exists.
Duplicate a Group
Often, groups may want to follow a certain pattern.
In this case, a group can be duplicated. This is done by pressing the blue duplicate button in the top right corner of the group.
This copies the names of everything within it - like a template. It does not copy the content.
If you want another group to reference an existing group, see here.
Editing a Dashboard
The dashboard title, colours and users who can view the dashboard can be edited by clicking the 'options' button.
This can be found on the main dashboard list view or within the individual dashboard edit view.

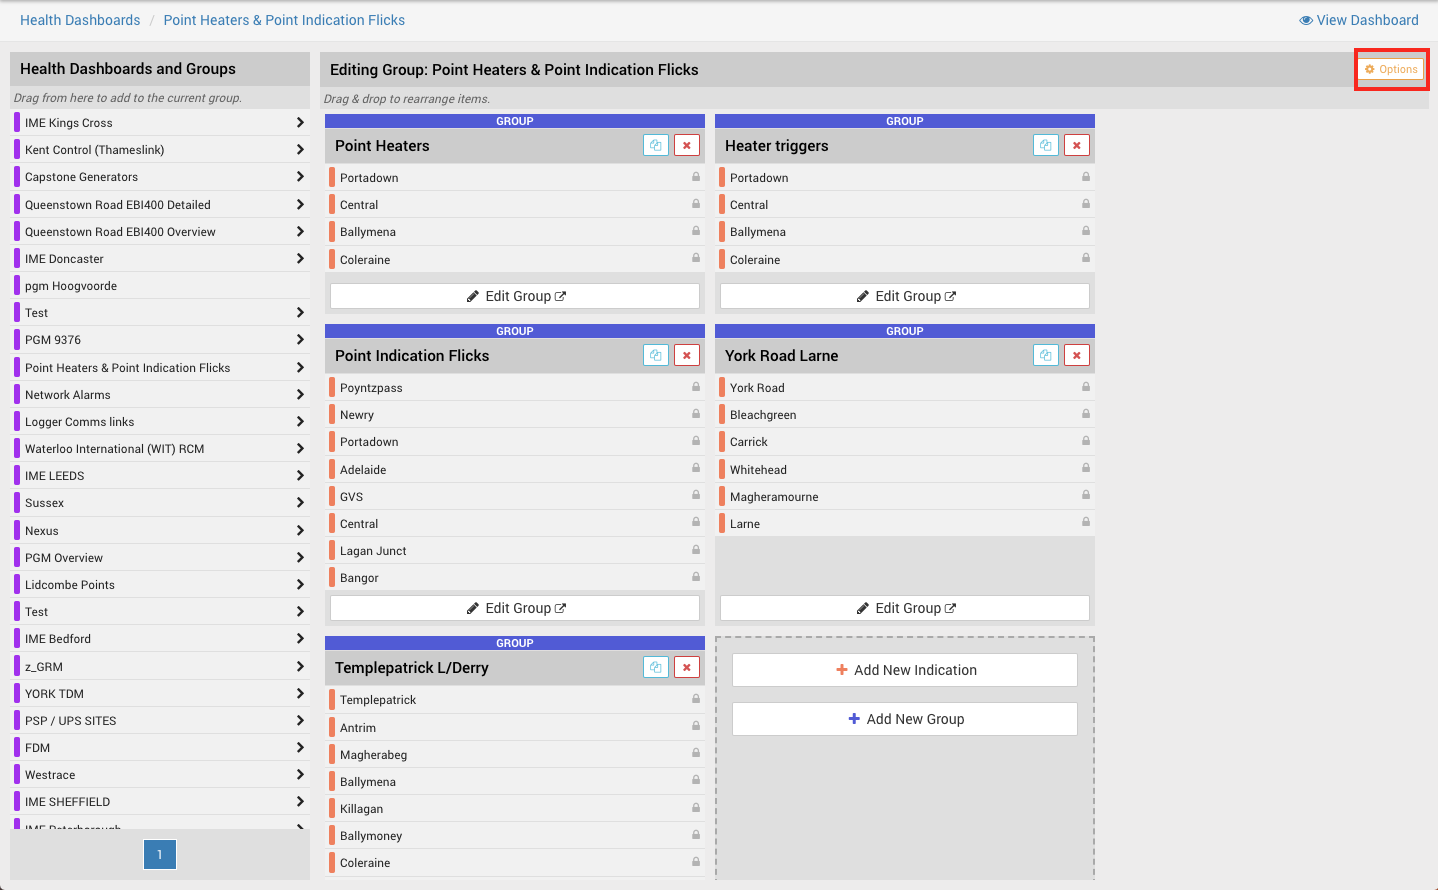
Clicking either of these buttons will take you to this page:
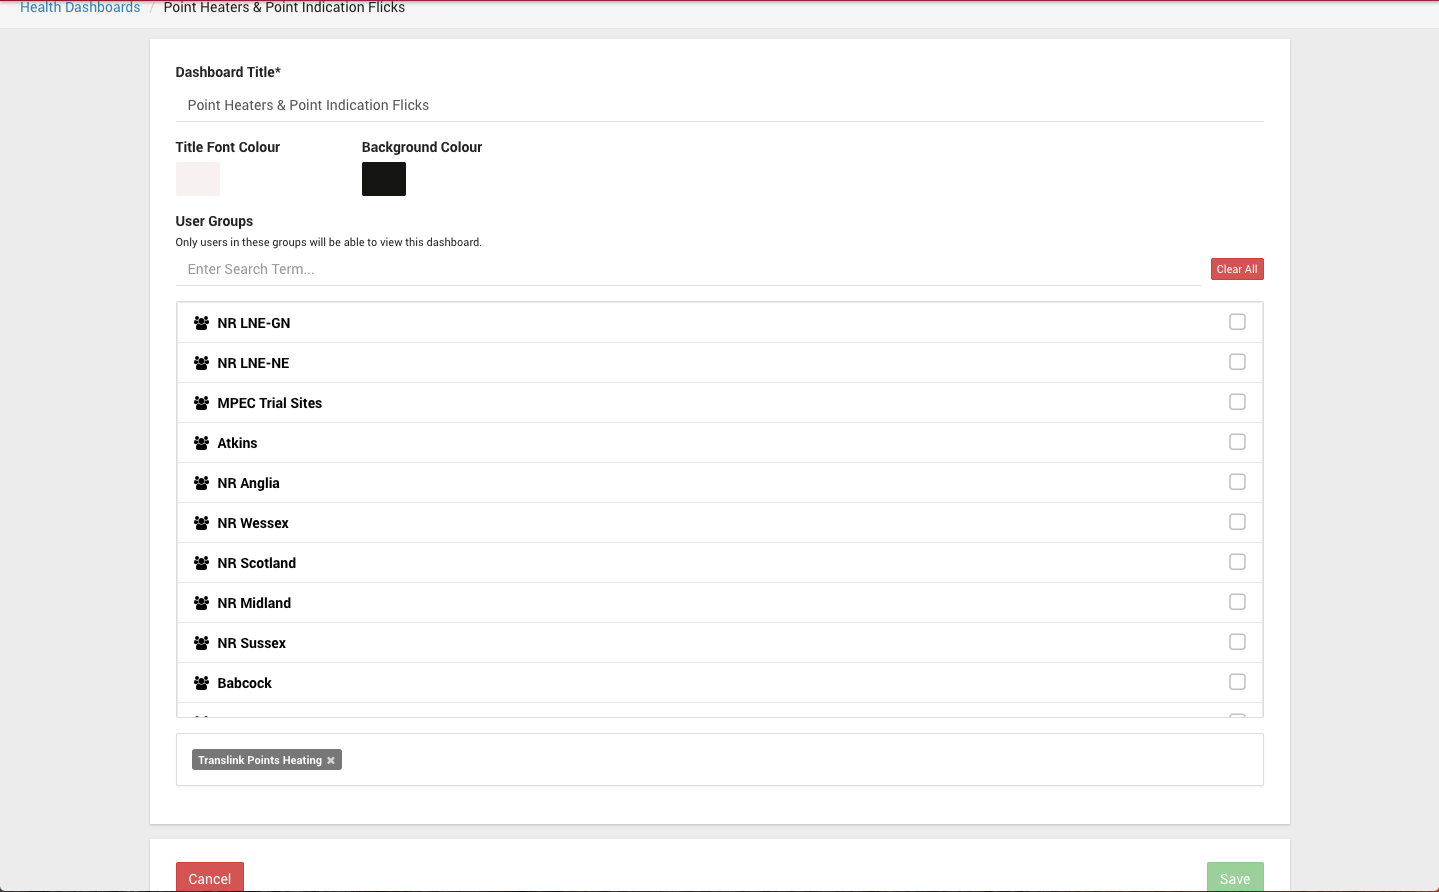
Edit the Dashboard title.
Edit the Title and Background colour to be used when using the full screen functionality.
Select User Groups who will be allowed to view this dashboard.
Remove User Groups by clicking the cross button by their name.
Save the dashboard.